
Overview
This guide provides administrators with step-by-step instructions on how to create and manage bulletins efficiently within the RAKAN Team Portal. By following this guide, admins can ensure a smooth content publishing workflow.

1. Accessing the Bulletin Management Page
- Log in to the Admin Dashboard.
- Navigate to the Bulletin section in the menu.
- Click Add New Bulletin to create a new entry.
2. Creating a New Bulletin

2.1 Entering Bulletin Details
- Title: Enter a clear and concise title in the “Add title” field.
- Content: Use the text editor to add relevant information.
- Use Heading 2 for main sections.
- Use Paragraph for regular text.
- Click Add Media to insert images if necessary.

2.2 Uploading a Featured Image (Mandatory)
- Click Set Featured Image in the right-hand menu.
- Upload an image that meets the following specifications:
- Dimensions: 1200px x 800px
- Format: JPEG
- Size: Less than 300KB
- Note: A featured image is required to save or publish the bulletin.
2.3 Assigning a Category

- In the Categories section, select the relevant category for the bulletin.
- Available categories include:
- Event
- News
- People Change
- Employee Handbook
- Shout-Out
- Star Board
- Wellness Guide
- Available categories include:
2.4 Adding FAQs (Optional)
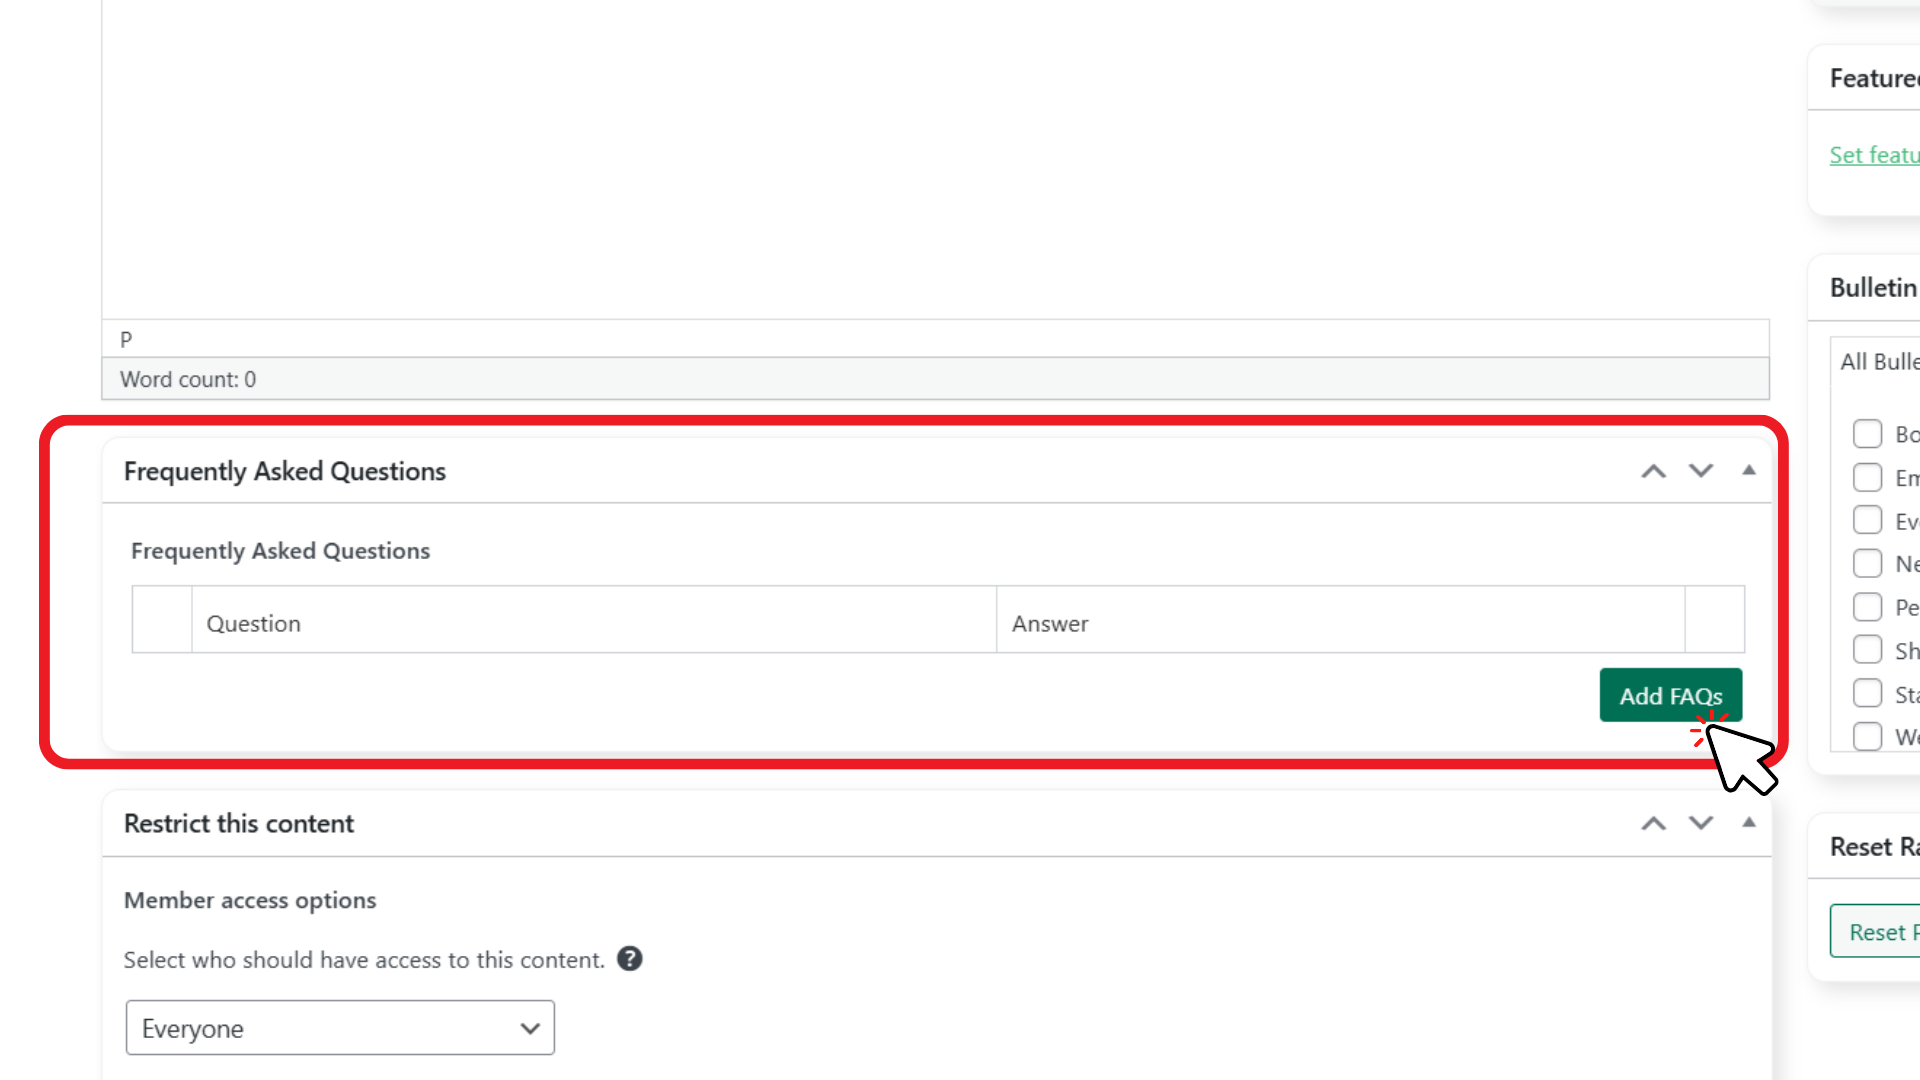
- Scroll to the FAQs section.
- Click Add FAQs to include frequently asked questions related to the bulletin.
- Example: For event bulletins, include questions about timing, location, etc.
")
2.5 Allowing Comments (Optional)
- Scroll to the Discussion section in the SOP editor.
- Check the Allow Comments box to enable user comments.
- If comments should be disabled, uncheck this box.
- Moderation settings can be adjusted in the Settings > Discussion menu.
2.6 Change Author (Using Quick Edit)

- Hover over the desired post title and click Quick Edit.
- Locate the Author dropdown menu.
- Select the new author from the list.
3. Publishing Options
")
3.1 Setting Visibility
- In the Publish box, adjust the visibility settings:
- Public: Visible to all users.
- Password Protected: Only accessible with a password.
- Private: Only visible to administrators.
3.2 Scheduling a Bulletin
- By default, bulletins are published immediately.
- To schedule for a future date:
- Click Edit next to “Publish immediately.”
- Select the desired date and time.
- Click OK, then Schedule.
3.3 Saving or Publishing
- To publish immediately, click Publish.
- To save as a draft, click Save Draft.

4. Editing an Existing Bulletin
- Navigate to the Bulletin page in the admin menu.
- Use the search bar to locate the bulletin.
- Click Edit to make changes.
- Click Update to save modifications.
5. Deleting a Bulletin
- Navigate to the Bulletin page.
- Locate the bulletin to be removed.
- Click Move to Trash.
- To permanently delete:
- Go to the Trash tab.
- Click Delete Permanently.
6. Key Points to Remember
- A featured image is mandatory to save or publish the bulletin.
- Use appropriate categories to improve content organization.
- Visibility settings determine who can access the bulletin.
By following this guide, administrators can efficiently manage bulletins within the RAKAN Team Portal.